文章目录
本文运行一下官方文档中的 Bookinfo 应用,并验证 Istio 部分功能,从而对 Istio 有感性认识。Kubernetes 为 1.20.0,Istio 版本为 1.12.3。集群信息如下
[decent@Master istio-1.12.3]$ kubectl get nodes -o wide
NAME     STATUS   ROLES                  AGE   VERSION   INTERNAL-IP      EXTERNAL-IP   OS-IMAGE                KERNEL-VERSION                CONTAINER-RUNTIME
master   Ready    control-plane,master   14m   v1.20.0   192.168.31.201   <none>        CentOS Linux 7 (Core)   3.10.0-1160.81.1.el7.x86_64   docker://20.10.22
node1    Ready    <none>                 13m   v1.20.0   192.168.31.202   <none>        CentOS Linux 7 (Core)   3.10.0-1160.81.1.el7.x86_64   docker://20.10.22
node2    Ready    <none>                 13m   v1.20.0   192.168.31.203   <none>        CentOS Linux 7 (Core)   3.10.0-1160.81.1.el7.x86_64   docker://20.10.22
下载安装 Istio
通过 wget 下载 istio 安装包。需要看下 istio 版本以及跟 K8s 版本的兼容性关系。
[decent@Master istio-1.12.3]$ wget https://github.com/istio/istio/releases/download/1.12.3/istio-1.12.3-linux-amd64.tar.gz
[decent@Master istio-1.12.3]$ ls
bin  LICENSE  manifests  manifest.yaml  README.md  samples  tools
其中 bin 目录有个 istioctl 二进制工具,放到 path 目录下面,samples 目录包含一些示例项目,我们要研究的 Bookinfo 也位于该目录下面。下载之后,通过下面命令安装 Istio。
[decent@Master istio-1.12.3]$ istioctl install --set profile=demo -y
✔ Istio core installed
✔ Istiod installed
✔ Egress gateways installed
✔ Ingress gateways installed
✔ Installation complete                                                                       Making this installation the default for injection and validation.

Thank you for installing Istio 1.12.  Please take a few minutes to tell us about your install/upgrade experience!  https://forms.gle/FegQbc9UvePd4Z9z7
查看 istio-system namespace 下的所有 pod,都是正常 running 的。
[decent@Master istio-1.12.3]$ kubectl get pods -n istio-system
NAME                                    READY   STATUS    RESTARTS   AGE
istio-egressgateway-6b79dfdd8c-5h9wv    1/1     Running   0          71s
istio-ingressgateway-67449995f5-kljl6   1/1     Running   0          71s
istiod-8588cb75-kh9t7                   1/1     Running   0          77s
安装 Bookinfo 示例程序
示例程序都在 sample 目录下。 bookinfo 示例程序是安装在 default namespace 下面的,所以安装应用之前,首先要开启对 default namespace 的 sidecar 注入能力,就是给 default namespace 打一个 label。
kubectl label namespace default istio-injection=enabled
通过下面命令安装 bookinfo 应用。
[decent@Master istio-1.12.3]$ kubectl apply -f samples/bookinfo/platform/kube/bookinfo.yaml
[decent@Master istio-1.12.3]$ kubectl get pods
NAME                              READY   STATUS    RESTARTS   AGE
details-v1-79f774bdb9-wd62g       1/1     Running   0          8m26s
productpage-v1-6b746f74dc-w7vgn   1/1     Running   0          8m26s
ratings-v1-b6994bb9-599r6         1/1     Running   0          8m26s
reviews-v1-545db77b95-ckpvd       1/1     Running   0          8m25s
reviews-v2-7bf8c9648f-thbbp       1/1     Running   0          8m26s
reviews-v3-84779c7bbc-xcwlc       1/1     Running   0          8m26s
验证 bookinfo 服务是否部署成功。
[decent@Master istio-1.12.3]$ kubectl exec "$(kubectl get pod -l app=ratings -o jsonpath='{.items[0].metadata.name}')" -c ratings -- curl -sS productpage:9080/productpage | grep -o "<title>.*</title>"
<title>Simple Bookstore App</title>
验证 default namespace 配置是否正确(比如是否开启 sidecar 注入)。
[decent@Master istio-1.12.3]$ istioctl analyze
✔ No validation issues found when analyzing namespace: default.
对外开放应用程序
在暴露服务的时候,使用的是 istio gateway 的方式,istio gateway 跟 K8s Ingress Controller 类似,用于接收集群的外部流量,在 Istio 的使用方式中,gateway 和 virtualservice 配合使用,前者定义了服务从外面怎么访问,后者定义了匹配到的内部服务怎么流转。下面命令就是定义了 bookinfo 服务的 gateway 和 virtualservice。
$ kubectl apply -f samples/bookinfo/networking/bookinfo-gateway.yaml
gateway.networking.istio.io/bookinfo-gateway created
virtualservice.networking.istio.io/bookinfo created
集群外部的流量访问集群时,首先访问的是集群的 Istio Ingress gateway,那这里有个问题是怎么暴露 Ingress gateway 给外部访问,在 Istio 中,是通过 LoadBalance 类型的 Service。
因为我是用 kubeadm 部署的 K8s 集群,所以很明显默认是不支持 LoadBalance 类型的 Service 的,在进行到这一步时,根据官方文档的提示,用 metallb 配置了给 LoadBalance 类型的 Service 分配 ip 的方式。在下面命令的输出中 istio-ingressgateway 服务的类型就是 LoadBalance,其 external-ip 为 192.168.31.210,即 metallb 帮我们分配的 external ip。
[decent@Master istio-1.12.3]$ kubectl get service istio-ingressgateway -n istio-system
NAME                   TYPE           CLUSTER-IP       EXTERNAL-IP      PORT(S)                                                                      AGE
istio-ingressgateway   LoadBalancer   10.96.2.51       192.168.31.210   15021:31812/TCP,80:31105/TCP,443:31678/TCP,31400:30922/TCP,15443:31582/TCP   17h
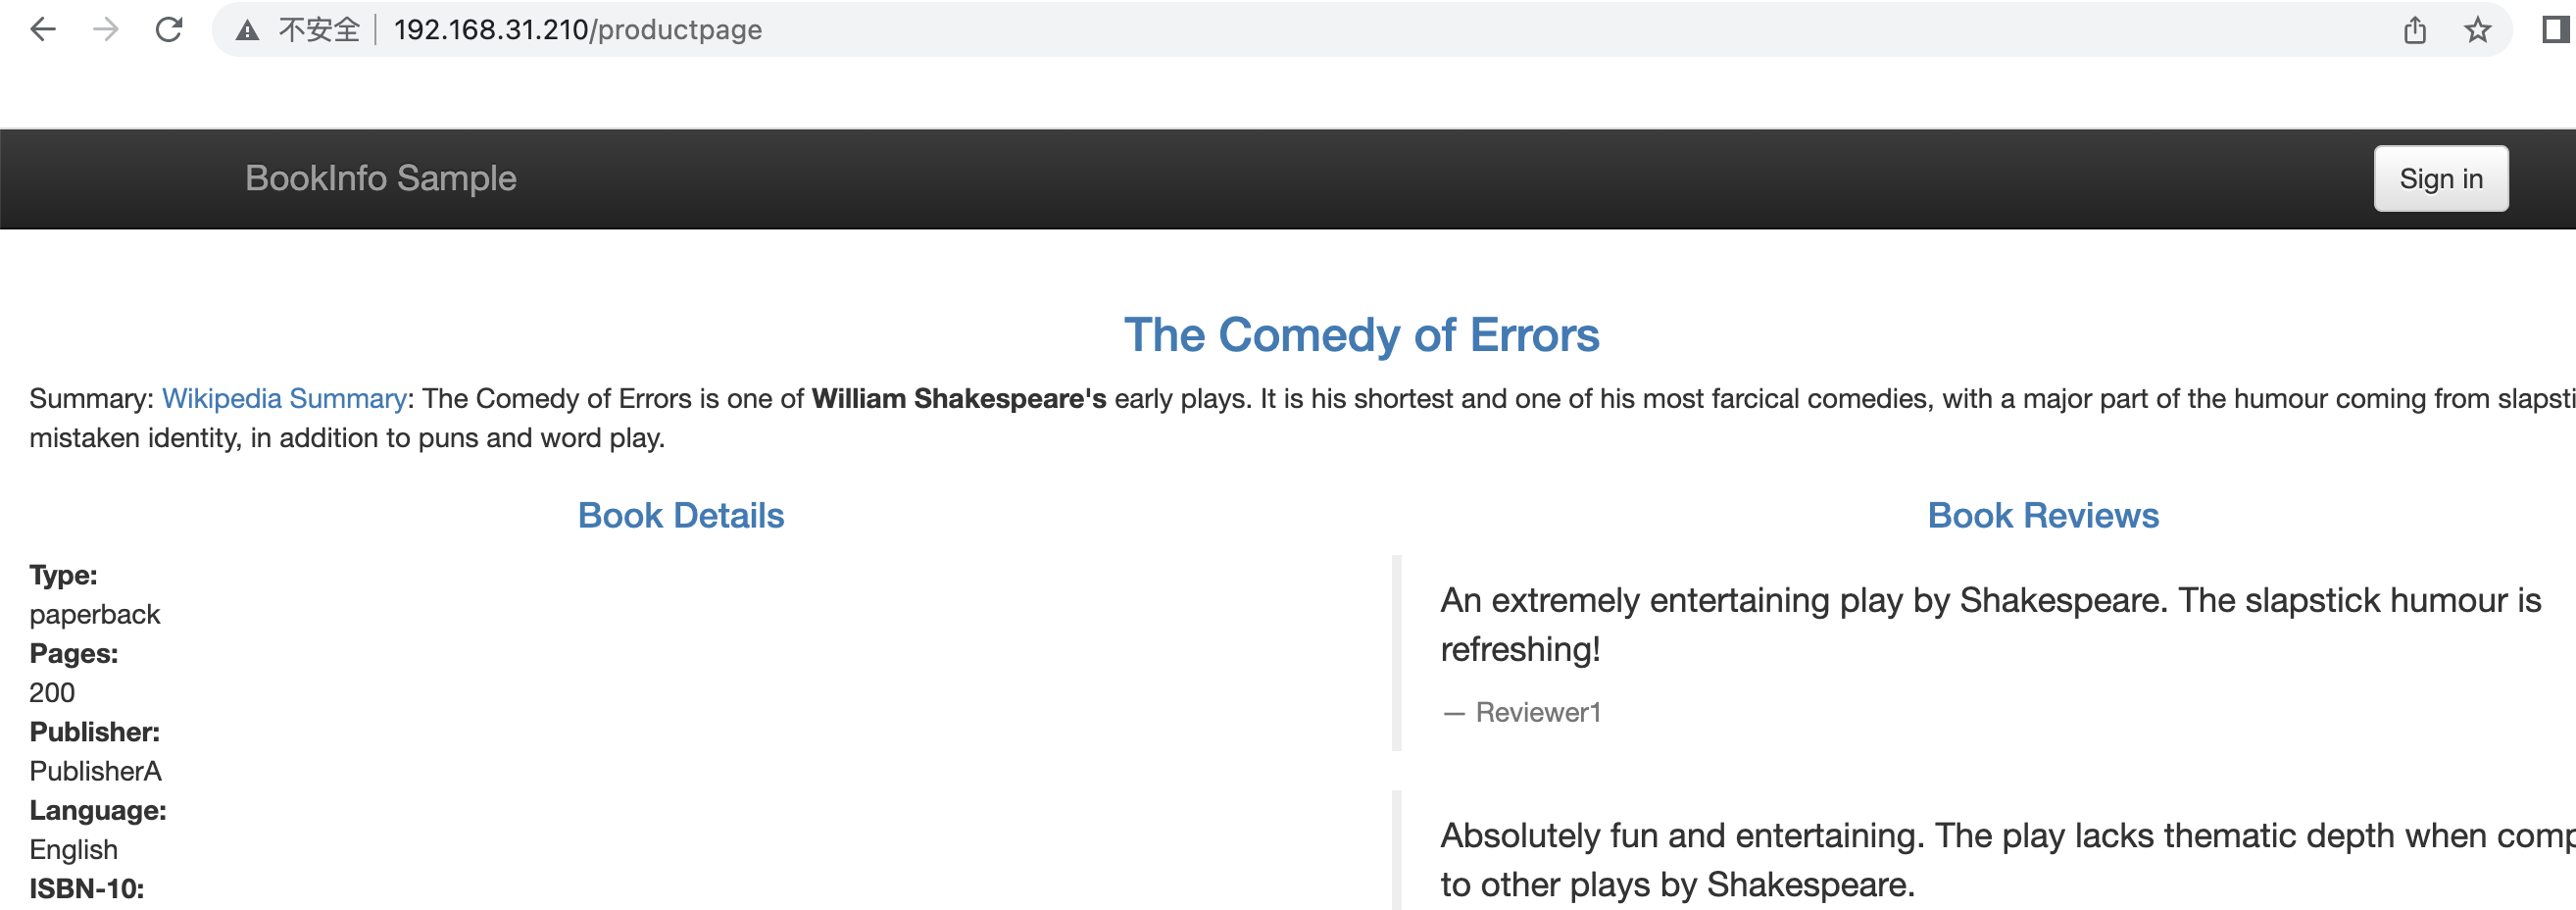
我们在集群外,通过 http://192.168.31.210/productpage 就能访问到服务。下面对 Istio 功能进行相关验证。

Istio 流量管理功能验证
通过 bookinfo 示例,验证 istio 的几个功能,包括:配置请求路由、注入 HTTP 延迟故障、流量转移、设置请求超时,更多示例参考官方文档。
配置请求路由
在做这个功能之前,我们多次刷新 http://192.168.31.210/productpage 页面,会发现每次页面展示的内容都不一样,有时候 Reviews 部分是黑色,有时候是红色,有时候又没有 Review。这是因为 bookinfo 程序运行了三个不同版本的 review 服务,istio 默认会将请求轮流转发到三个服务,配置请求路由的功能就是将请求固定转发到某一个特定的版本。
在 samples/bookinfo/networking/virtual-service-all-v1.yaml 配置文件中,分别配置了 productpage、reviews、ratings、details 服务对应的 VirtualService,在 VirtualService 的定义中,hosts 字段一般匹配 K8s 中的 Service,最好写成 FQDN 的形式,也可以配置成 ip。
在 virtual-service-all-v1.yaml 中,所有的 VirtualService 在 destination 部分都配置了 subset: v1,表示只访问应用的 v1 版本。其实除了 reviews 服务,其他服务都只有 v1 版本。
apiVersion: networking.istio.io/v1alpha3
kind: VirtualService
metadata:
  name: reviews
spec:
  hosts:
  - reviews
  http:
  - route:
    - destination:
        host: reviews
        subset: v1
在上面 VirtualService的定义中,在 destination 部分指定了 subset,其中这个 subset 是在 DestinationRule 中定义的。以 reviews destinationrule 为例,配置如下,我们可以看到 subset v1 是通过 version:v1 来选择 pod 的。为实现配置请求路由功能,还需要通过 samples/bookinfo/networking/destination-rule-all-mtls.yaml 创建 destination rule。
apiVersion: networking.istio.io/v1beta1
kind: DestinationRule
metadata:
  annotations:
  name: reviews
  namespace: default
spec:
  host: reviews
  subsets:
  - labels:
      version: v1
    name: v1
  - labels:
      version: v2
    name: v2
  - labels:
      version: v3
    name: v3
  trafficPolicy:
    tls:
      mode: ISTIO_MUTUAL
配置完上面的 virtualservice 和 destinationrule 之后,在 mac 电脑的 web 界面上刷新,就只能看到 v1 版本的 review 了。
注入 HTTP 延迟故障
在上一小节 配置请求路由 中,我定义了 reviews 的 VirtualService,将所有的请求都转发到 v1 版本,在本小节中,我们将update 一下那个 VirtualService,添加一个额外的匹配项,如果请求的带有 header end-user: jason,我们将把请求转发到 v2 版本。通过下面 yml 更新 virtualservice 配置。
apiVersion: networking.istio.io/v1alpha3
kind: VirtualService
metadata:
  name: reviews
spec:
  hosts:
    - reviews
  http:
  - match:
    - headers:
        end-user:
          exact: jason
    route:
    - destination:
        host: reviews
        subset: v2
  - route:
    - destination:
        host: reviews
        subset: v1
延时的注入同样是通过 virtualService 来实现的,配置如下,对于 ratings 服务,如果带有 end-user: jason的 header,则注入 7s 的延迟。
apiVersion: networking.istio.io/v1alpha3
kind: VirtualService
metadata:
  name: ratings
spec:
  hosts:
  - ratings
  http:
  - match:
    - headers:
        end-user:
          exact: jason
    fault:
      delay:
        percentage:
          value: 100.0
        fixedDelay: 7s
    route:
    - destination:
        host: ratings
        subset: v1
  - route:
    - destination:
        host: ratings
        subset: v1

流量转移
这里流量转移(traffic-shifting)功能跟金丝雀发布类似,将 50% 的流量转到 v1 版本,将 50% 的流量转到 v3 版本。
在上一小节 注入 HTTP 延迟故障 中,我们重新 patch 了 review virtualService,如果请求带有 header end-user: jason 则转发到 v2 版本,在这一小节中,将重新 patch 一下review virtualservice,以实现 v1 版本和 v3 版本流量各一半的情形。
apiVersion: networking.istio.io/v1alpha3
kind: VirtualService
metadata:
  name: reviews
spec:
  hosts:
    - reviews
  http:
  - route:
    - destination:
        host: reviews
        subset: v1
      weight: 50
    - destination:
        host: reviews
        subset: v3
      weight: 50
利用上面配置重新 patch reviews VirtualService 之后,界面的 review 只有两种情况了,没有星星(对应v1)和红色星星(对应v2)。
设置请求超时
设置超时是在 virtualService 中配置 timeout 中实现的,具体配置如下,bookinfo 中的例子不再详细跟了。知道怎么配置即可。
apiVersion: networking.istio.io/v1alpha3
kind: VirtualService
metadata:
  name: reviews
spec:
  hosts:
  - reviews
  http:
  - route:
    - destination:
        host: reviews
        subset: v2
    timeout: 0.5s
总结
本文验证了使用 istio 来进行流量管理的几个功能,涉及到的概念有 istio gateway、virtualService、destinationrule等。这些配置一般都比较复杂,细节较多,一时间难以掌握,后面会再对某一细节功能做进一步理解和分析。